Holiday Baking Tips for the first-time baker
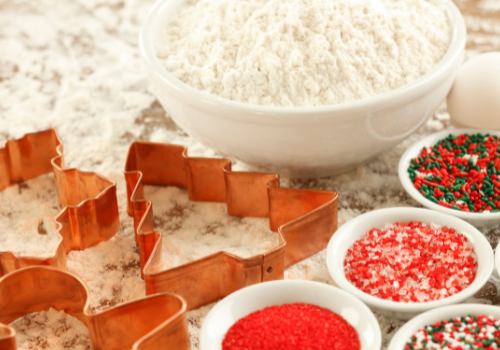
‘Tis the season for carolling, decorating, movies about Santa and – you guessed it – Christmas cookies. Whereas cooking can be considered more of an art, baking is more of a science, and it’s not for everyone. Whether you’re hoping to gift some Christmas cookies to a loved one, or you just want to learn your way around a sifter and a cookie sheet, here are some holiday baking tips to get you started.
Read the recipe carefully before you begin baking

For the beginner baker, it’s important to understand all your ingredients, as well as the process you need to take to get from raw ingredients to Christmas cookies. If your recipe requires chilling of the dough, it will greatly adjust your baking time, making your holiday baking more stressful if you are making multiple baked goods in the same day. You can skip the story about the time the baker travelled to Greece to visit her great-great-grandmother when she was twelve – unless you enjoy those stories. If you are beginner baking, don’t get creative and try to swap out ingredients yet – unless you are switching out wheat flour for a gluten free alternative; and in that case, ensure you are following the instructions on that product. It’s not always a 1:1 switch.
Don’t rush
8111f9f7-4242-4509-b386-e74a6c717c88.png?sfvrsn=4c7bed3e_3)
A big baking tip for the beginner baker is to take things slow. Pre-heat your oven to the correct temperature, measure your ingredients carefully, and ensure you’ve read the entire recipe before you begin your holiday baking. Add your eggs in one at a time to allow it to emulsify properly before you move onto the next one. It’s also a good idea to add your dry ingredients in batches to ensure everything is thoroughly, but not overly, mixed in your Christmas cookie recipe. Remember to let the cookies cool fully before you decorate to avoid melty baking disasters.
Stick to the right temperatures
c72e325c-db3a-4852-bd8b-48d837e9a6ae.png?sfvrsn=9e7bed3e_3)
We don’t just mean setting the oven correctly. If the recipe calls for you to have your eggs, milk or butter to room temperature before mixing together your holiday baking ingredients, make sure you do it as it can affect the recipe. If you must chill your dough after mixing and before spooning onto the baking sheet, remember this neat trick: 20 minutes in the freezer is equivalent to one hour in the refrigerator. Another neat hack specifically for sugar cookie – a very popular Christmas cookie – roll it out between parchment or wax paper, after you mix it, and before you chill it. It will make your life a lot easier.
Invest in good bakeware
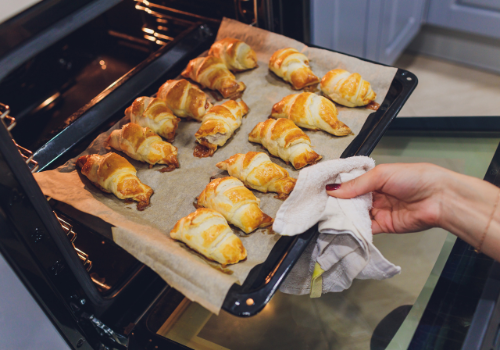
When baking Christmas cookies, a good, non-stick pan is an essential part of the beginner baker toolkit, especially when you are going to be making multiple batches of baked goods. A good metal pan is your best bet but remember that dark pans absorb more energy and can lead to uneven baking. If you decide to use glass or ceramic baking sheets, take your holiday baked goods out five minutes earlier – it will continue to cook while cooling for a few minutes.
If you are not confident in your baking ability and think you might wreck a really nice pan, you can use a cheaper alternative, from the dollar store, as long as you line it with parchment paper, but know that it can affect your holiday baking.
Mixing baking tips
Fold in your chocolate chips, rather than aggressively mixing as if you overmix your Christmas cookie dough, it can lead to a tougher, less enjoyable cookie.
Lay them out
Give your cookies space on the baking tray. They need to breathe and spread out as they cook. Another good tip for consistency is to use an ice cream scooper to scoop out the Christmas cookie dough onto your baking sheet.
Baking Time
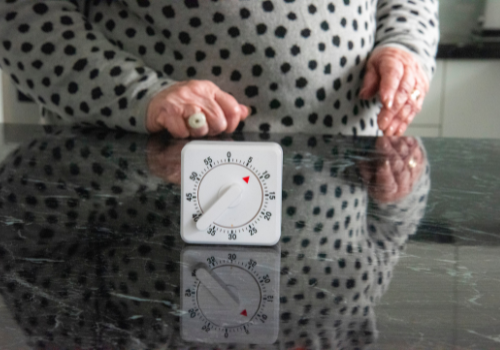
Make sure you use parchment paper and/or grease and dust your baking sheets before adding your Christmas cookie dough to them for baking. For best results, bake one sheet at a time to allow the air to circulate appropriately and cook your baked goods evenly. Keep that oven door closed, unless you are opening it to rotate your baking tray at the mid-way point (you don’t have to do this but if you know your oven bakes better on one side than the other, it will help the entire sheet of cookies bake better. Always set your timer for 1-2 minutes less than what the recipe says since every oven is a little bit different. Undercooked, is better than overcooked, and it’s easier to put it back for those one to two extra minutes, then to chomp down on burnt Christmas cookies.
Warm, delicious Christmas Cookies
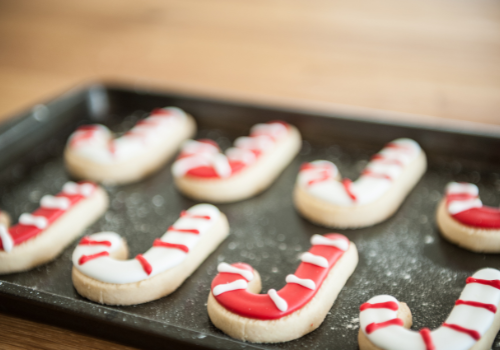
When your baked goods have cooked per the recipe, remove them from the oven and let them sit for two-to-three minutes. Then transfer to a cooling rack using a spatula or other cookie-flipping-contraption. Let your Christmas cookies cool fully before you try to ice them, and when icing them, remember that taste is more important than appearance. It might be tempting to make them look like they did in the book or TV cooking show -but remember, there are food stylists whose job it is to make those cookies look fairy-tale in nature. Perception isn’t always reality for the beginner baker.
What Now?
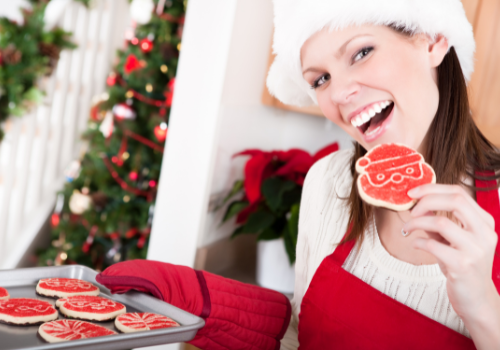
You’ve gone and put your beginner baker skills to the test on some Christmas cookies. You mixed, you baked, you cooled, and you iced? How do you store them? If you are baking the cookies a little in advance of when you need to gift them, you can use this neat storage baking tip. Store your cookies in a tight sealing container, with a slide of white bread or half an apple – the cookies will absorb that moisture keeping them fresh longer.
Congratulations on engaging in some holiday baking, and we hope your baked goods turned out. In the event that they are not as good as you hoped, dip your Christmas cookies in chocolate, because chocolate makes everything better!

Planning some holiday décor, or looking for some Christmas cookie inspiration? If baking is not your thing, we can connect you with baking experts. Come to one of our upcoming holiday gift shows and get inspired, while crossing a few people off Santa’s list.
)


